Set up Solr Search Engine
The Apache Solr is a more advanced search engine than Lucene version previously used by Persephone. Using it requires one additional step - an installation of the Solr server that runs on Java. By using Solr, you will also benefit from a much faster indexing process done by SolrSearchIndexUpdater tool (update: PersephoneShell does all the indexing instead of SolrSearchIndexUpdater).
Install Java
To run Solr, you will need the Java Runtime Environment (JRE) version 1.8 or higher. At the command line, check your Java version like this:
$ java -version
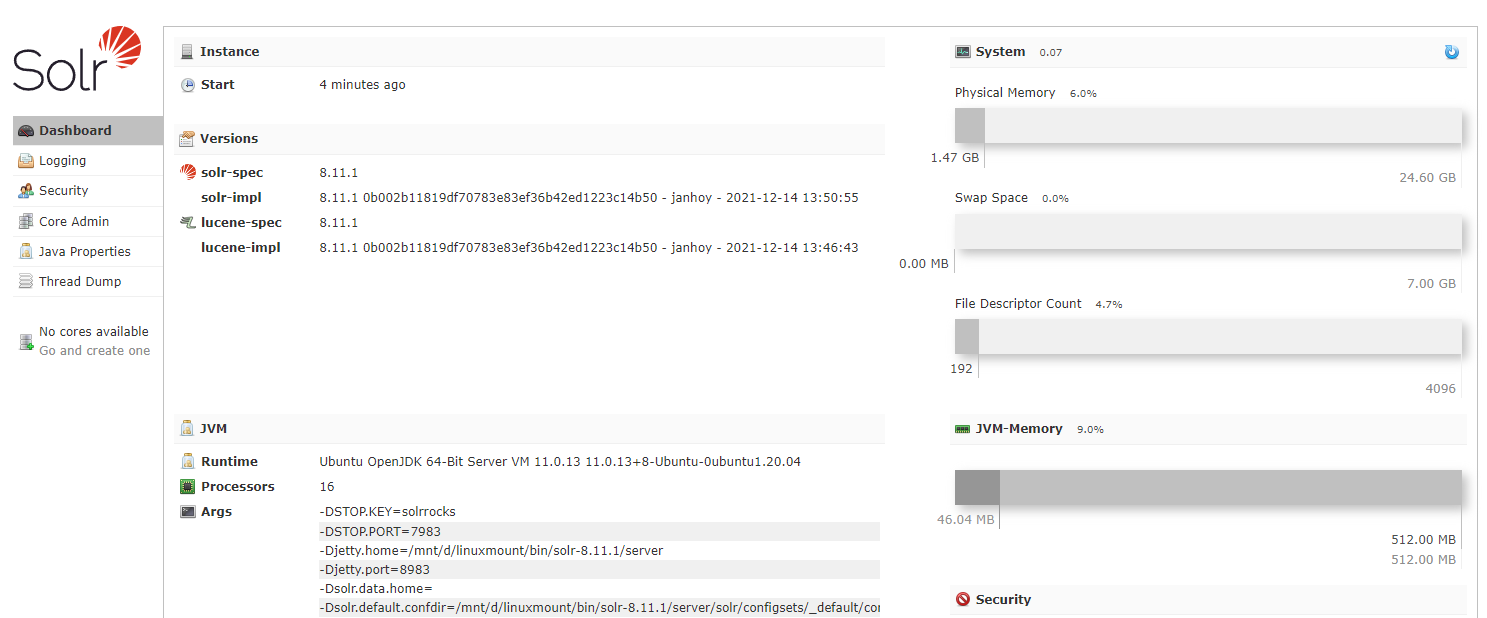
openjdk version "11.0.13" 2021-10-19
OpenJDK Runtime Environment (build 11.0.13+8-Ubuntu-0ubuntu1.20.04)
OpenJDK 64-Bit Server VM (build 11.0.13+8-Ubuntu-0ubuntu1.20.04, mixed mode, sharing)
If Java is not installed, download and install Java from URL: https://www.java.com/inc/BrowserRedirect1.jsp?locale=en
Install Solr
Download Solr from https://solr.apache.org/downloads.html
Note
For now, Persephone supports Solr version up to 8.11. The later versions (9* and higher) require additional configuration and may not work correctly with massive search queries that use wildcards. We are working on simplifying this.
For example, for Windows, we need a zip-file: solr-8.11.1.zip, for Linux - a tgz-file: solr-8.11.1.tgz.
For more information about installing Solr under Linux, see here: https://tecadmin.net/install-apache-solr-on-ubuntu/
Uncompress the downloaded archive.
You might need to modify bin/solr.in.cmd file to include:
set SOLR_JAVA_HOME="c:\Program Files (x86)\Java\jre1.8.0_181"
pointing to the location of your Java installation directory, which is a parent to Java's bin directory.
By default, the memory allocated for Solr is 512 MB. To improve performance, we recommend to increase this value to at least 2 GB. This value is specified in
Start the Server
Start command prompt as: cmd.exe and change to the directory with the Solr executables
$ cd solr-8.11.1/bin
$ ./solr start
Waiting up to 180 seconds to see Solr running on port 8983 [|]
Started Solr server on port 8983 (pid=2069). Happy searching!
Use your Internet browser to check Solr by opening the URL: http://localhost:8983
|
|
Create the Core (Collection)
Create a new core by running the following command:
solr create -c <core_name>
You can name the core anything you want. Let’s name the core “persephone”.
solr create -c persephone
WARNING: Using _default configset with data driven schema functionality. NOT RECOMMENDED for production use.
To turn off: bin\solr config -c persephone -p 8983 -action set-user-property -property update.autoCreateFields -value false
Created new core 'persephone'
Warning
Using the UI's Create core command is not recommended, as it will require to first make the directories manually. The command line's instruction will create all necessary files and directories in one step.
After this, the core will be shown in the drop-down list of the Solr web interface:

To restart Solr use:
solr restart -p 8983
Note
One core can contain at most 2,000,000,000 documents. To overcome this limitation, use Solr in the cloud mode (see below).
Add configset (the Web version)
The users of the Web version can add their own data - entire map sets with sequences and tracks. The imported data is also indexed for search. To configure this functionality please download an archive persephone_solr_configset.tgz with "configset" files tailored for Persephone from here. Unpack this file to the Solr's data folder so that the 6 files from the archive end up in the conf subfolder.
For linux the default destination is /var/solr/data/configsets/persephone/conf.
Under Windows, it is: {PATH_TO_SOLR_SERVER}\server\solr\configsets\persephone\conf.
Note
Important! In the case of using SolrCloud, there is no need to copy this file. The Persephone server will synchronize the Solr schema automatically
Set up Cerberus to use Solr Search Index
Normally, the communication with Solr is performed via Cerberus. In this case, Cerberus' configuration (SelfHostingCerberus.exe.config) should be updated to contain the following node (where persephone is the name of the core):
<!--
Search engine configuration.
All parameters except for IndexDirectory are optional.
Enabled: If "false", search engine will be disabled, and all of the other parameters
will be ignored. Default is "false".
IndexDirectory: The directory that will contain search index data.
The token {TEMP} will be replaced by the current Windows temp folder.
UpdateMode: Update mode can be APPEND or OVERWRITE
APPEND:
Appends any new items (markers, genes, QTLs, etc.) to the index.
Existing items will be left unchanged.
OVERWRITE:
Deletes existing indexes, and re-creates them using the new items.
-->
<SolrSearchSettings Enabled="true" ServerUrl="http://localhost:8983/solr" CoreName="persephone" />
Using Solr server in SolrCloud mode
Solr includes the ability to set up a cluster of Solr servers that combines fault tolerance and high availability. Called SolrCloud, these capabilities provide distributed indexing and search capabilities. Using SolrCloud will allow to overcome the limitation of a single Solr core to have not more than 2,000,000,000 documents. The distributed processing will help with improving performance of the indexing and the search.
By default, Solr starts in a non-cloud mode, so, first, we need to stop the Solr server with the command:
solr stop -all
If you want to just extend the limits of documents in one core you can use the embedded ZooKeeper server, but if you want to use SolrCloud on several physical servers or if you want to make mirroring of data, then you should use an external ZooKeeper server, see here: https://solr.apache.org/guide/8_11/setting-up-an-external-zookeeper-ensemble.html
Here we will use the embedded ZooKeeper and create a new collection (used now instead of a core) with 4 shards.
To run solr in the cloud mode with embedded ZooKeeper you need to add parameter “-c” to the start command
solr.cmd start -c
For Linux we can change file /etc/init.d/solr:
case "$1" in
start|stop|restart|status)
SOLR_CMD="$1"
;;
*)
echo "Usage: $0 {start|stop|restart|status}"
exit
esac
to
case "$1" in
start)
SOLR_CMD="$1 -c"
;;
stop|restart|status)
SOLR_CMD="$1"
;;
*)
echo "Usage: $0 {start|stop|restart|status}"
exit
esac
The previously existing cores will not work with the SolrCloud mode, you will need to either create the new cores (with a different name) or reinstall Solr in a new directory that will create a new set of subfolders under server/solr. You will need to reindex the data (psh searchindex sync will do).
solr create -c prod
WARNING: Using _default configset with data driven schema functionality. NOT RECOMMENDED for production use.
To turn off: bin\solr config -c prod -p 8983 -action set-user-property -property update.autoCreateFields -value false
Created collection 'prod' with 1 shard(s), 1 replica(s) with config-set 'prod'
If you have renamed the core (collection), please update the configuration of Persephone (SelfHostingWebCerberus.exe.config) or PersephoneShell (psh.exe.config) by changing the collection name. The syntax of the XML node for the search index can stay the same. In case of SolrCloud, the core name CoreName= will now be treated as the name of the collection:
<SearchIndex>
<Connection Name="prod" Url="http://localhost:8983/solr/" CoreName="prod" />
</SearchIndex>
In case of the new installation, you can reuse the same core names and use the old configuration files without change.
Note
If you had some registered Persephone users and are switching to SolrCloud, the old data in the search index of existing users will be unavailable.
Configuration of SolrSearchIndexUpdater
Note
Important! Updating the search index can now be done automatically by PersephoneShell. Each data modification (adding, editing, deleting) can automatically trigger updating the Solr search indexes. This makes the following section about SolrSearchIndexUpdater redundant.
Please consult the Solr pages as a part of the documentation for PersephoneShell
SolrSearchIndexUpdater is a tool to create the search index of Persephone data for the Solr search engine. The utility collects the data from the database and passes it to the Solr server. The Persephone client application or the Cerberus server will delegate the search tasks to the Solr server.
Before using SolrSearchIndexUpdater, please put the database connection string to the SolrSearchIndexUpdater.exe.config file in the usual form. If you name the connection “Default”, SolrSearchIndexUpdater will use it if no other connection is specified on the command line.
Alternatively, the parameters can be specified in a JSON file. The text of the template JSON with all possible parameters can be shown on screen if SolrSearchIndexUpdater is called with parameter -help. The file with the most stable parameters reused between jobs, such as server URL or core name, may look like this:
{
// Connection name, listed among connections in config
"ConnectionName": "db1", // default: no value
// List of available connections
"Connections": [
{
// Encoded connection string
"ConnectionString": "connection string here", // default: no value
// Name of the connection
"Name": "db1", // default: no value
// Provider name for the database connection: either 'Oracle' or 'MySql'
"Provider": "MySql" // default: no value
}
], // default: no value
// The Solr Core name
"CoreName": yourcorename, // default: no value
// Debug mode, prints stack trace of exceptions (and optionally most detailed info)
"DebugMode": true, // default: false
// {URL} to the Solr server (without the Solr Core name)
"Url": "http://localhost:8983/solr" // default: no value
}
SolrSearchIndexUpdater is ready to use.
Using SolrSearchIndexUpdater.
Usage: SolrSearchIndexUpdater -s=VALUE -l=VALUE -c=VALUE -T=VALUE [OPTIONS]+
Parameters:
-t, --test Test mode, doesn't write anything to the database
-D, --debug Debug mode, prints stack trace of exceptions (and
optionally most detailed info)
-f, --forceYes Answer 'Yes' to all console inputs
--json=VALUE Path to JSON config file, from which we can parse
the tool input parameters. By default, uses '
config.json'. Use -h to see the format of json
file
-h, -?, --help Show this message, display sample json and exit
-s, --connection=VALUE Connection name, listed among connections in config
-q, --qualifiers=VALUE List of qualifiers, separated by ','
-l, --url=URL URL to the Solr server (without the Solr Core name)
-c, --core=VALUE The Solr Core name
--user=VALUE User name to connect to server
--pwd=VALUE Password to connect to server
--wndauth If true, will embed Windows authentication
credentials in the request (using the currently
logged-in user)
-T, --type=IndexType (required) the IndexType, must be one of {MARKER,
ANNOTATION, QTL, ALL}
-M, --mapSets=VALUE list of map set's ACCESSION_NOs or MAP_SET_IDs to
be indexed, separated by ',', (by default, ALL
map sets will be indexed)
--tr, --tracks=VALUE list of tracks to be indexed, separated by ',', (
by default, ALL tracks will be indexed)
-u, --updateMode=UpdateMode
the UpdateMode, must be one of {APPEND, OVERWRITE}
(by default, will use the mode specified in the
config file)
--sth, --singlethread use one thread only
--instanthardcommit Commit to file storage after each update (
otherwise each time commit to RAM and some time
later to storage).
--updatelength=VALUE Count of documents in one update-request
Most common scenarios:
Index all the data in the database:
SolrSearchIndexUpdater –T ALL
Update all annotation data from gene model tracks for a specific map set with MapSetId=11:
SolrSearchIndexUpdater –T ANNOTATION –M 11
Note
Like other tools written for Windows OS, SolrSearchIndexUpdater can run on linux, using mono framework:
mono SolrSearchIndexUpdater.exe -T ANNOTATION -M 11
You can find MapSetId for each map set if you run PersephoneShell with command 'list mapset':
PS> list mapset
1: Tcacao v2 3: Criollo v2
6: T.grandiflorum v1 7: H.umbratica
10: UF712 11: Tcacao_CGDv1.1
6 mapsets
 Copyright © 2009-2023 by Persephone Software. All Rights Reserved.