Annotation Search
Click the Annotation tab to open the Annotation search window as shown below. In this mode, you can search through the database using annotation features.
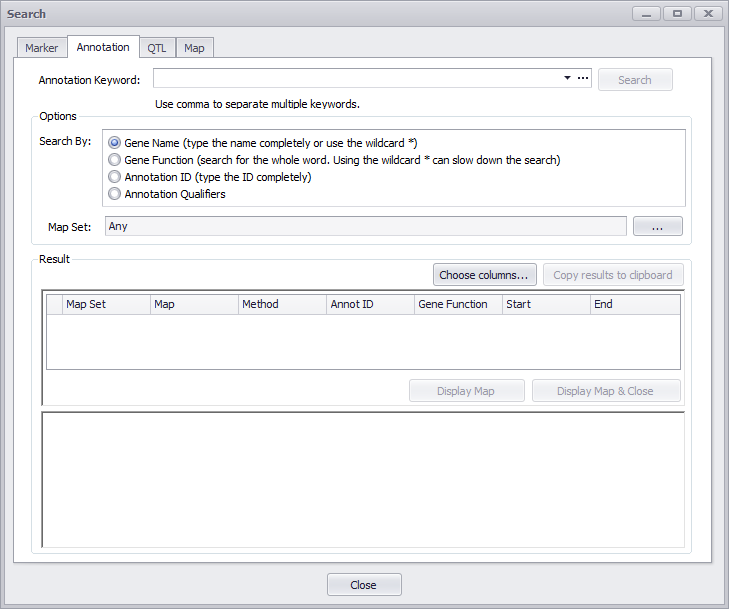
Annotated genes can be queried by their name or function. The gene name should be typed completely or wildcards can be used (for example, BRCA*).
For the gene function search, the whole word provided in the search text box will be searched for, but again, wildcards can be used (for example, kinase*).
Note
Using wildcards may slow down the search.
Annotation Keyword
The Annotation Keyword entry field at the top of the form enables you to enter one or multiple entries. (Multiple entries must be separated by commas.) Click the downward arrow in the entry box will display your past entries. The ellipsis (...) field will open a window to enable you to specifically enter Annotation IDs (these are generated by Persephone). These can be entered separated by commas or one ID per line.
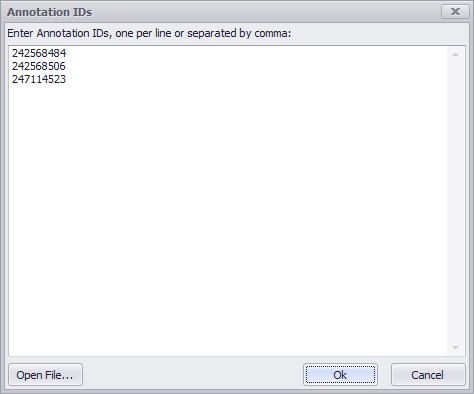
Click the Open File button, which enables you to import a file of Annotation IDs (again, separated by commas or one per line). Clicking OK will enter all entries into the Annotation Keyword field.
Options
The Gene Name refers to a systematic name, such as AT2G01420, and not the commonly used name, such as PIN4. You can search for information on PIN4, for example, by entering it and clicking the Gene Function or the Annotation Qualifiers radio buttons.
The Annotation ID is an identifier generated internally by Persephone. Annotation Qualifiers include all of the information that the various Annotation Qualifiers in the Annotation Details window includes, such as the description and summary of the information known about the gene.
You can enter a map set name in the Map Set text entry box to filter your results. In addition, you can click the ellipses (...) button to open a search options window as shown below.
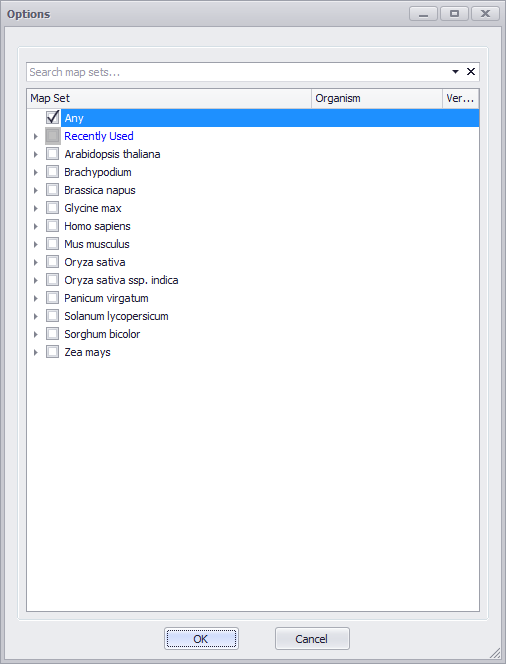
Check (select) a map set or enter a map set name in the text entry box at the top of the window. Click OK to confirm your selections.
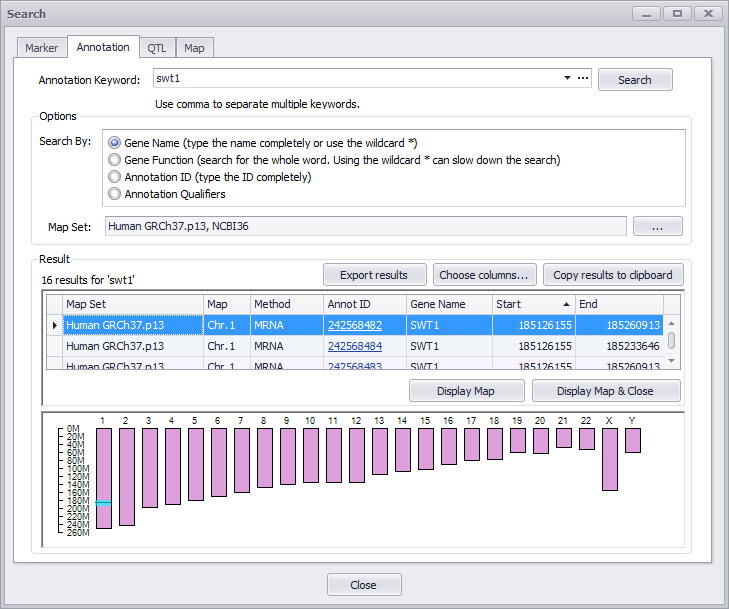
Results
The search results have two parts: a table and a graphical display representing all chromosomes of the organism selected. The interface is interactive, so clicking the graphic will highlight a corresponding row in the table and vice versa. The highlighted entry in the table will appear as a blue horizontal band in the chromosomal graphic. The highlighted result can be displayed on the chromosome map by pressing Display Map or Display Map & Close button.
In addition, you can change the columns displayed in the table by clicking the Choose columns button, which provides the ability to hide/display any column. If you need the results elsewhere, clicking the Copy results to clipboard button will enable you to copy the results onto the clipboard ready to be pasted into a document (typically Excel). If no results are found, a text message will display above the table at the top left corner and the table will be blank.
By clicking the Display Map & Close button (the Search window is closed) or Display Map button (the Search window is not closed) a map of the results will be created on the Maps tab stage. An Annotation Details window will be displayed by double-clicking on the Annot ID entry in the table in the Result panel. This provides information about the gene, including the protein sequence, the spliced and unspliced DNA sequences and the gene expression (if available). Additional descriptive information is given as well as ortholog information.
If you click the Export Results button a window similar to the following will be displayed.
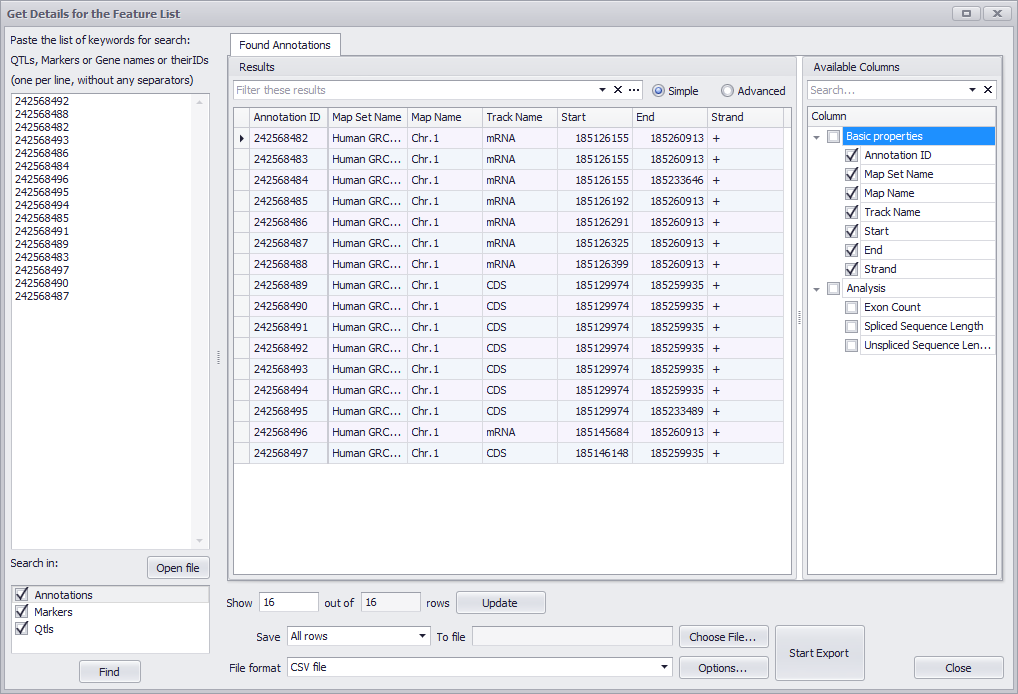
See Get Details for the Feature List for information about using this window to export annotations.
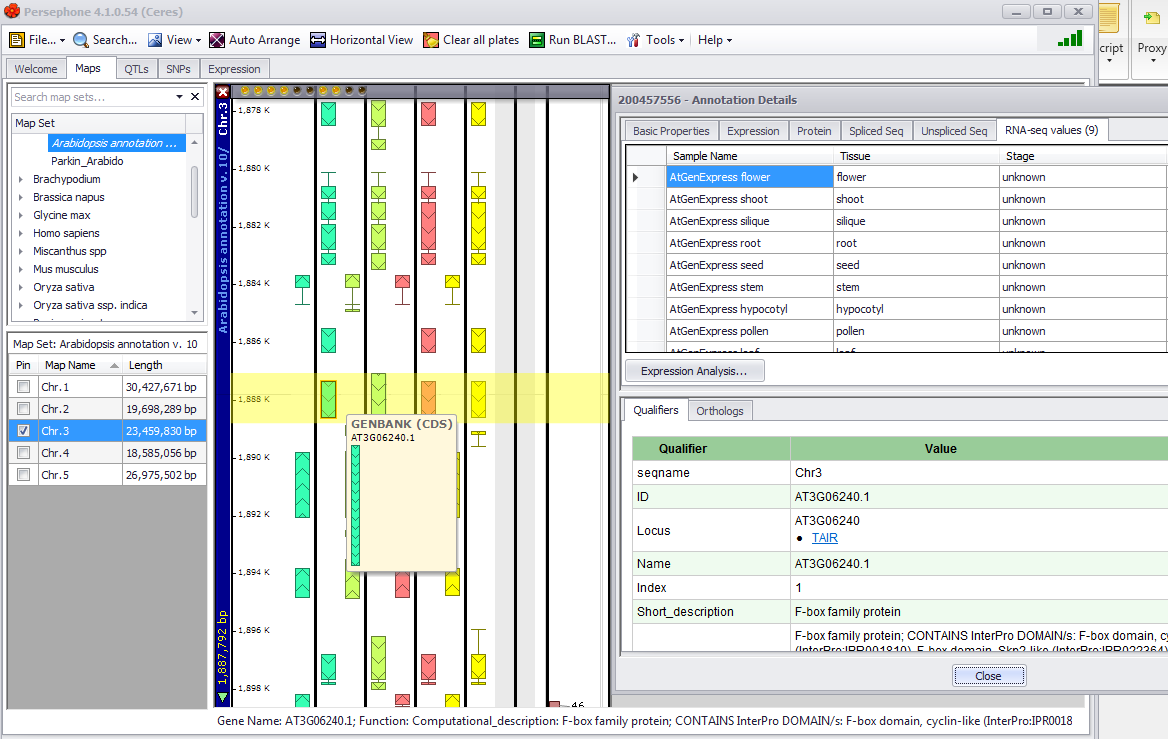
Displaying a Map
The figure below shows selecting the Display Map & Close button. In this example both the Maps tab with the highlighted CDS and the associated Annotation Details window is shown. Note the Accession Number at the top left margin of the Annotation Details window.
 Copyright © 2009-2024 by Persephone Software. All Rights Reserved.