Web Persephone: Rearranging tracks
Rearranging tracks
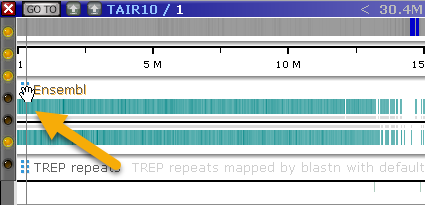
The easiest way to rearrange tracks is to drag-and-drop them directly on the map. To do so, hold your mouse over a track's  drag handle until the cursor changes to a "hand" icon; then drag the track to the desired location:
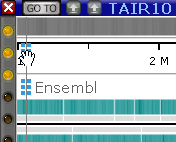
The drag handle is hidden by default on the GC-content and Ruler tracks; mouse over the upper-right corner of the track to reveal it: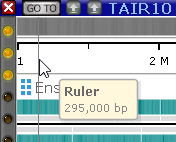
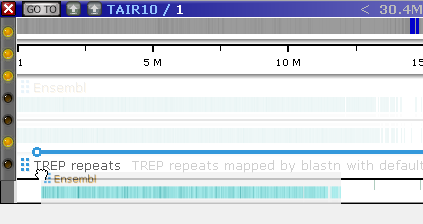
You can also rearrange tracks by dragging their labels inside the Track Panel:
Advanced track management
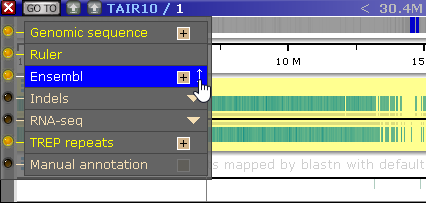
To manage multiple tracks at the same time, open the Map details dialog by right-clicking anywhere on the map and selecting Map/track details from the popup menu: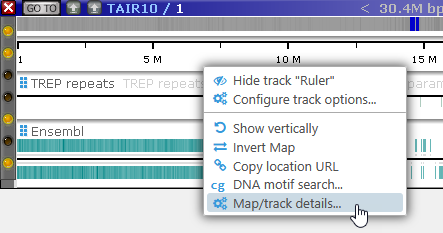
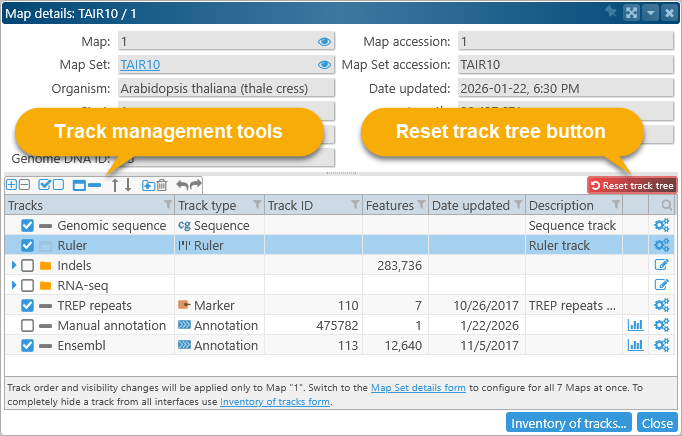
The top portion of this dialog displays the map's metadata; the bottom portion displays the list of all tracks that are currently available on the map.
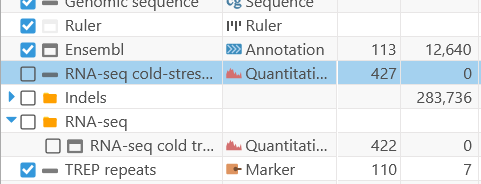
Each row in this tree represents either a track or a folder, along with its controls and some metadata. You can sort, search, and filter this tree using Persephone's standard table controls.
Track rows

- Visibility and collapsed status:
 Click the checkbox next to the track's name to show or hide the track on the map.
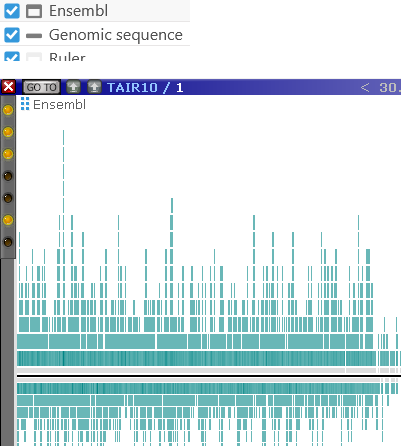
 Click this button to expand or collapse the track:
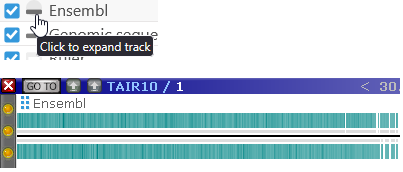
- Track name: Shows the track's name; no two tracks within the map may have the same name.
- Track type: Shows the track's type (i.e. the kind of data and/or features it contains).
- Features: The number of features on this track (if any). Some track types, e.g. the Quantitative track, contain no discrete features.
- Date updated: The date when this track was loaded (or updated).
- Description: The first line of the track's description (if any).
 Click this button to open the Track statistics dialog for this track (if available).
 Click this button to open the Configure track dialog, where you can edit the track's name, description, colors, and other properties.
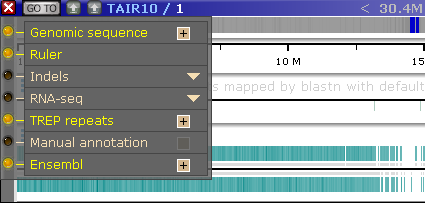
The  icons represent track groups. Tracks can be arranged into nested groups (a.k.a. folders); for example, it may be desirable to put all expression tracks into a single group, to make it easier to turn them on or off as a unit.
Folders

 Click this button to expand or collapse the folder (doing so only affects only this tree, and has no effect on the map).
- Click the checkbox next to the folder to show or hide all tracks inside the folder.
 Click this button to edit the folder's name directly in the tree:
Rearranging tracks
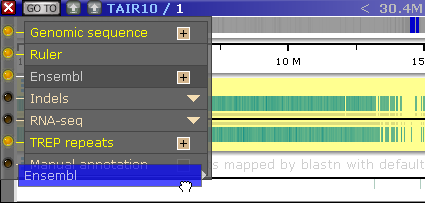
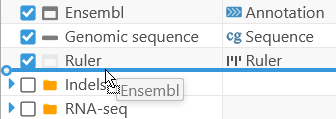
To move a track, mouse over its name until the mouse cursor changes to the "hand" shape; then drag the track to its desired position: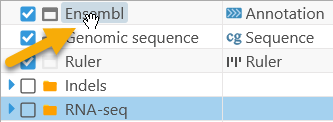
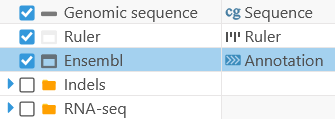
You can also select multiple tracks, and drag them together as a unit. In addition, you can drag-and-drop tracks into or out of folders:
Note that for selecting rows in the table, click in any column except for the column with the track labels.
Toolbar
The buttons above the track tree provide additional functionality:
 Open or close all folders at once.
 Show or hide all tracks at once.
 Expand or collapse all tracks at once.
 Move the currently selected tracks up or down. This method of rearranging tracks may be more precise than drag-and-dropping them, especially when there are dozens of tracks on the map.
 Create a new folder.
 Delete the currently selected folder. Only empty folders may be deleted; thus, before deleting a folder, you should drag all the tracks out of it.
 Undo/Redo the rearrangement of tracks, returning them to their previous positions. You can also press Ctrl-Z to undo, or Ctrl-Y to redo.
 Click and hold this button to reset all track positions, folders, visibility, and collapsed/expanded states back to their defaults.
Rearranging tracks for the entire Map Set
Each map in a Map Set possesses its own track positions, visibility, and collapsed/expanded states. This means that e.g. rearranging tracks on Chromosome 1 will not affect their positions on Chromosome 2 of the same genome. To manage tracks on all maps in the Map Set simultaneously, right-click the Map Set in the Map Set tree, and select Map Set details from the popup menu: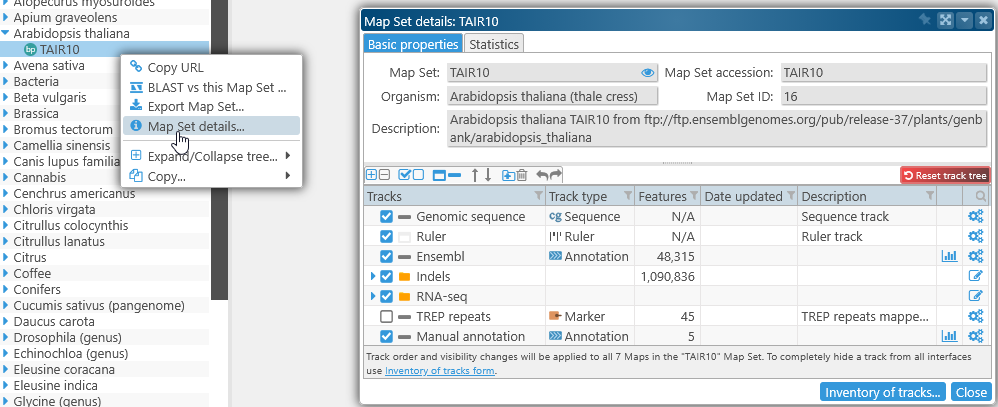
The tree of tracks in this dialog functions in the same way as above, but the changes you make here will simultaneously affect all tracks on all the maps in the Map Set.
Inventory of Tracks
Click the Inventory of tracks button at the bottom of the dialog to browse all available tracks in Persephone, and optionally deactivate them, completely removing them from view. This can help reduce clutter if you are only interested in seeing a small subset of data from the database. The Inventory of tracks function is described in more detail here.
 Copyright © 2009-2025 by Persephone Software. All Rights Reserved.