Web Persephone: User Interface
Tables and Tree views
Persephone uses standard tree views and tables (also known as "grids") to organize large amounts of data. For example, the Map set tree on the main Persephone screen is a tree view: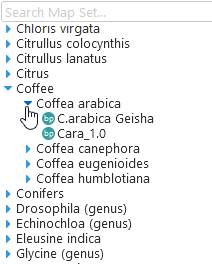
Items in the tree are organized into nodes (or "folders"). To expand the node and reveal the items inside, click the  icon or the node text next to it. The icon will rotate down
  to show that the node is expanded; click it again to collapse the node.
Most trees support Persephone's standard search and filtering controls; for example, you can quick-search the map set tree by typing in the search box at the top: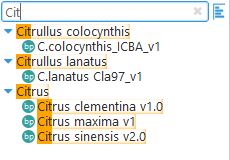
Some tree views contain multiple columns and/or checkboxes, just like tables can. For example, the Map set selection tree in the Run BLAST dialog contains both: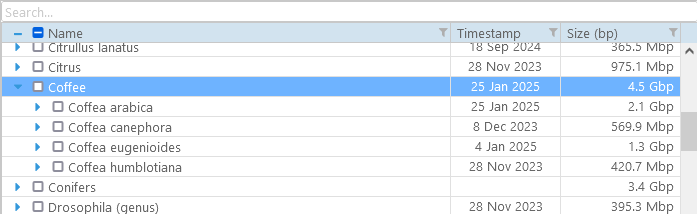
Click a checkbox to toggle the state of its node, as well as the state of all its child nodes...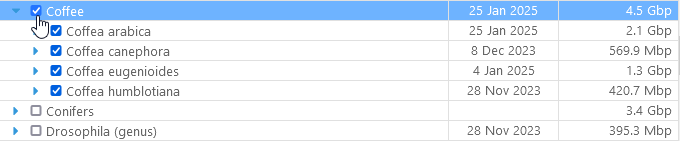
...including those that are currently collapsed: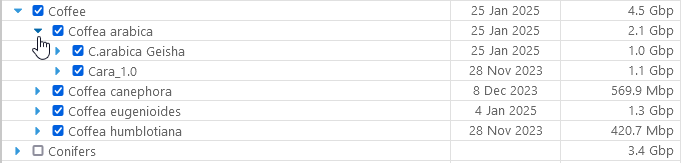
Click the parent node again to uncheck all of its child nodes. You can also check or uncheck them individually. In this case, the parent node changes to an intermediate state: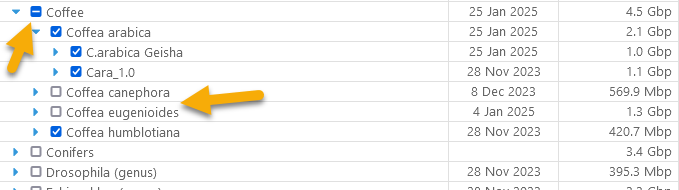
You can click the  button to check all of the child nodes once again.
Splitters
Some panels are separated by splitters; drag a splitter to resize the panel. For example, you can resize the Map set tree: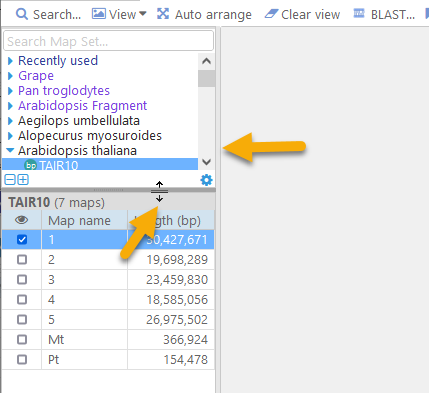
Dialogs
Persephone's dialogs are similar to those in other applications, with a few additional features. For example, here is the Annotation details dialog: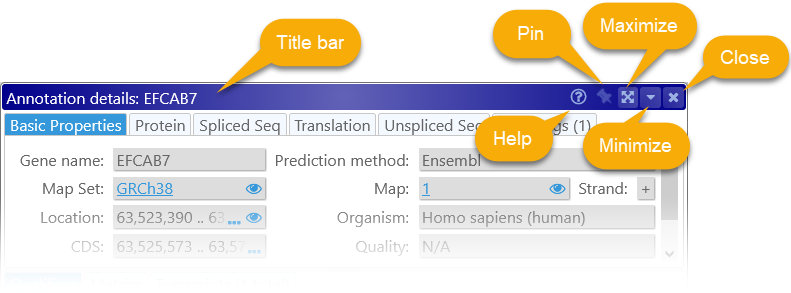
- Title bar: Identifies the dialog; in this case, it lists the name of the gene annotation.
 Help: Mouse over this icon to display a popup help tooltip with a brief description of the dialog, as well as links to further information:
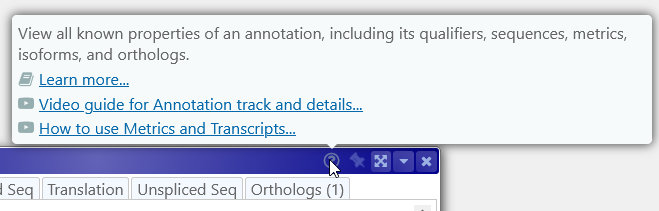
 Pin: Some dialogs, such as Annotation details or Marker details, can be opened multiple times. For example, every time you click a gene annotation, a new Annotation details dialog will appear on the screen, displaying the clicked annotation's properties. If this dialog was already on screen, it will be moved on top of other dialogs and briefly flash blue:
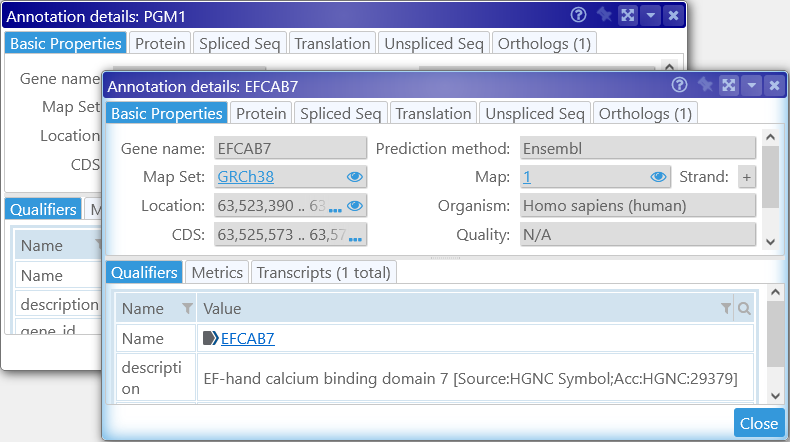
The Pin button changes this behavior. When the dialog is pinned, new dialogs of the same type will replace it instead of opening a new dialog: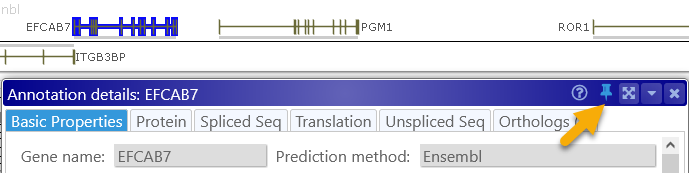
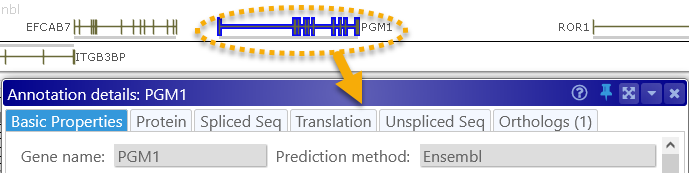
Click the Pin button to pin the dialog, click it again to un-pin it. Maximize/Restore: Expands the dialog to fill the entire screen; the button then changes to
  Restore. Click it to return the dialog to its previous size.
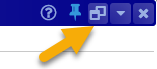
 Minimize/Restore: Collapses the dialog to just its title bar; the button then changes to
  Restore. Click it to return the dialog to its previous size.
 Close: Closes the dialog.
Modal dialogs
Some dialogs are modal, and will cover up all other controls until the modal dialog is closed. In this case, other controls on the screen will be grayed out: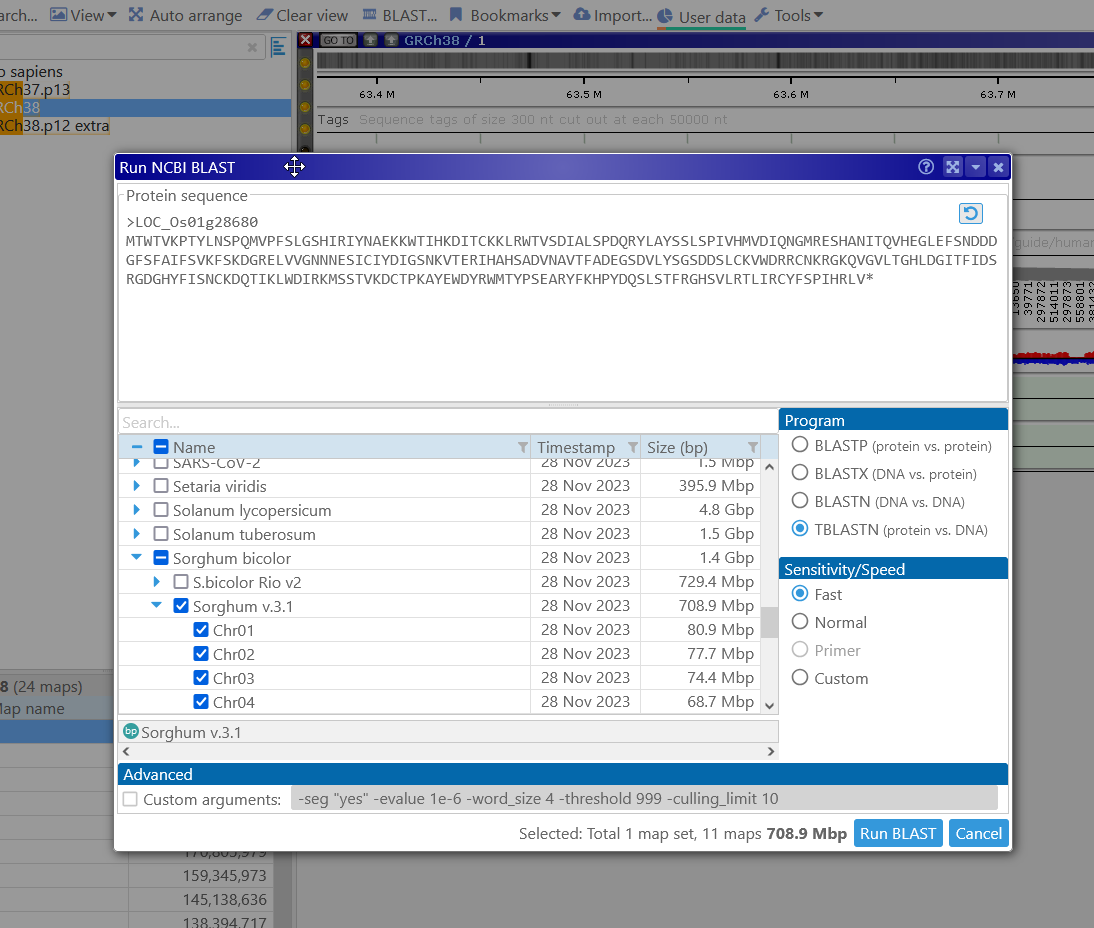
Docking dialogs
Most dialogs can be docked to bottom and/or right sides of the screen. To dock a dialog, drag it by its title bar all the way to the edge of the screen, until a blue outline appears: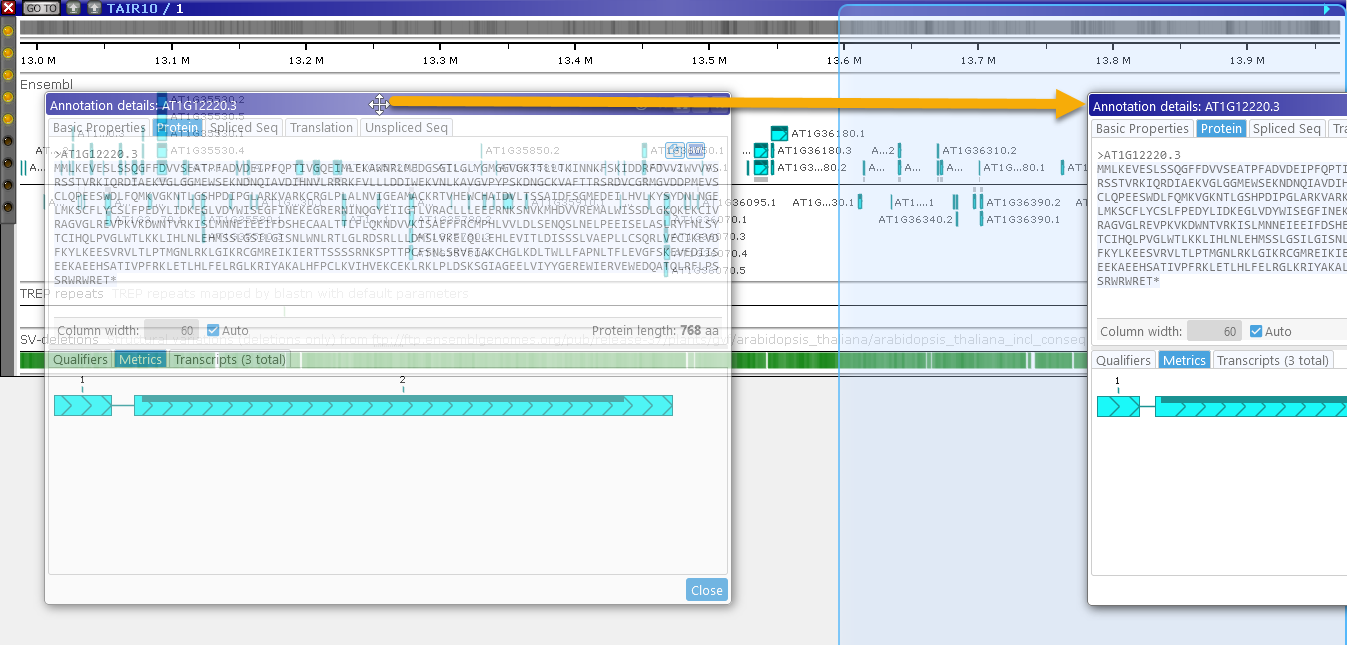
Then, release the mouse, and the dialog will be docked inside the outlined space: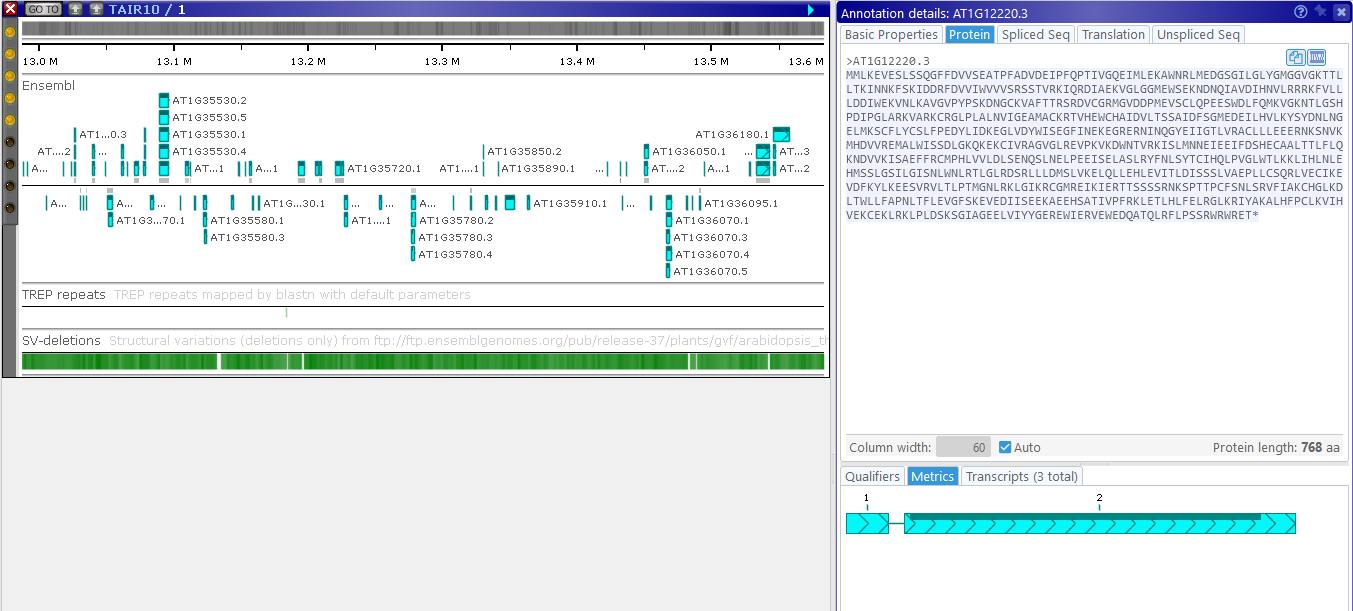
All other controls on the screen will shift to make room for the docked dialog.
Up to two dialogs can be docked to at the same time to the right side of the screen, and up to two more can be docked to the bottom. To adjust the size of the docked dialogs, drag the splitters that separate them: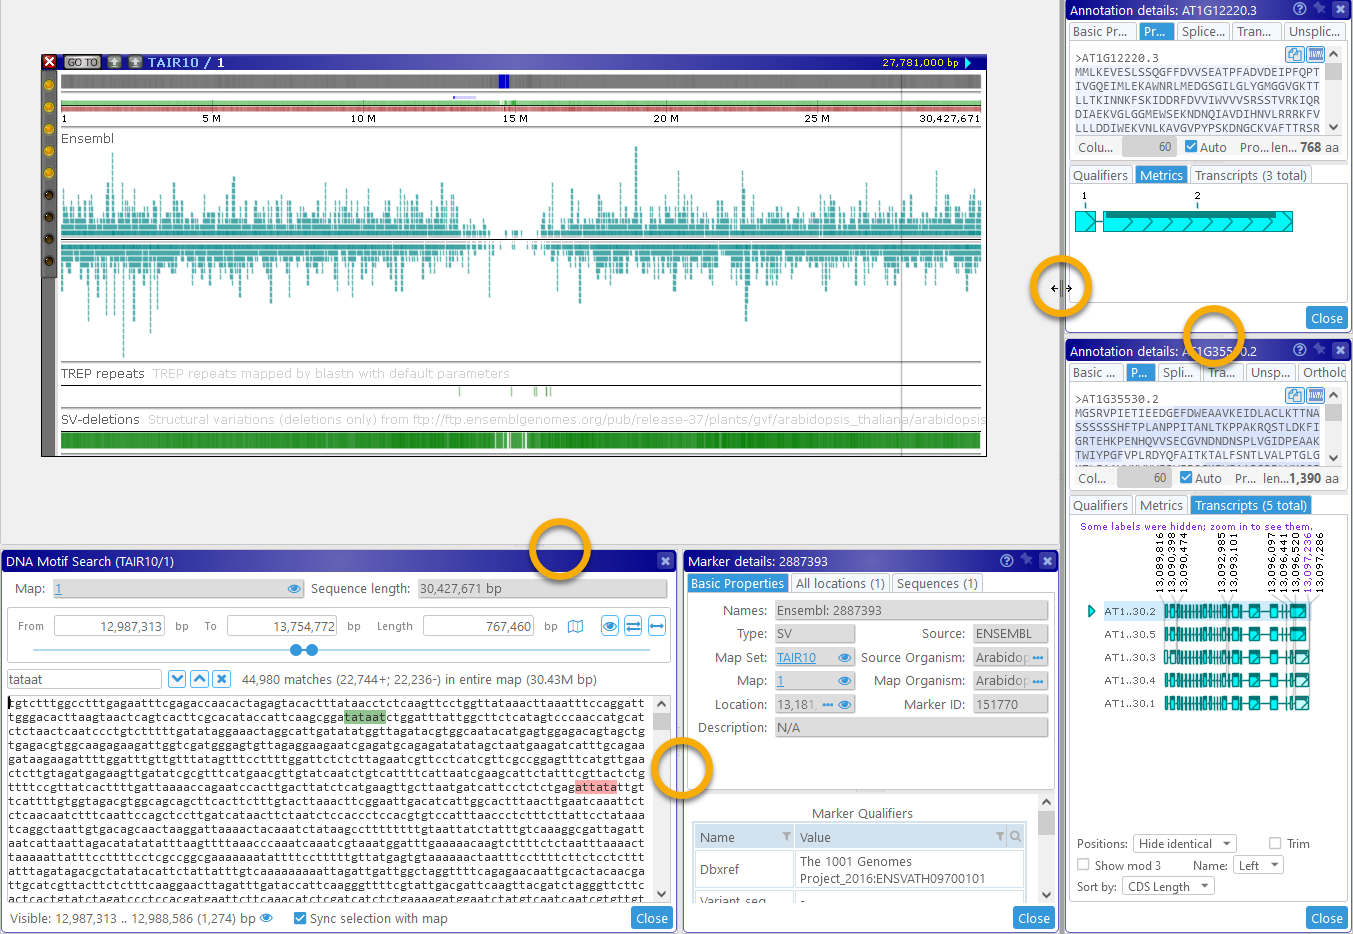
To undock a dialog, drag it out of its docked position by its title bar.
Map region selector
This control provides multiple ways to select a region on a map; for example, it is used in Export and DNA Motif Search.
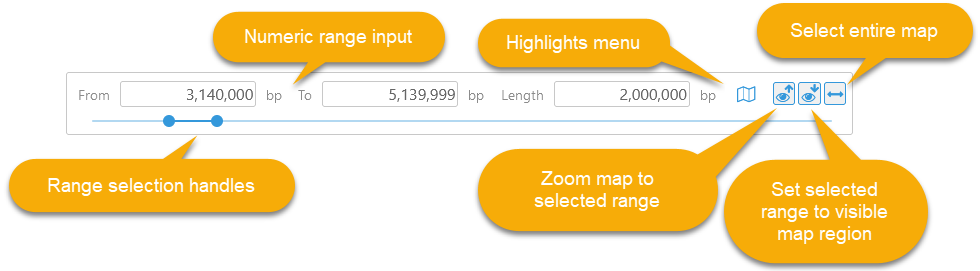
Drag the range selection handles (with the left mouse button) to quickly change the starting and ending position of the selected map range. You can also enter an exact value in one of the textboxes at the top: From, To, and Length. For example, you could enter "5000000" into the Length textbox, and the To textbox (as well as the range sliders) will update to reflect the new range:

The Highlights button  displays a pop-up menu of all the highlights on the map, even those that are currently off-screen. Click a highlight to change the currently selected range to that of the highlight:
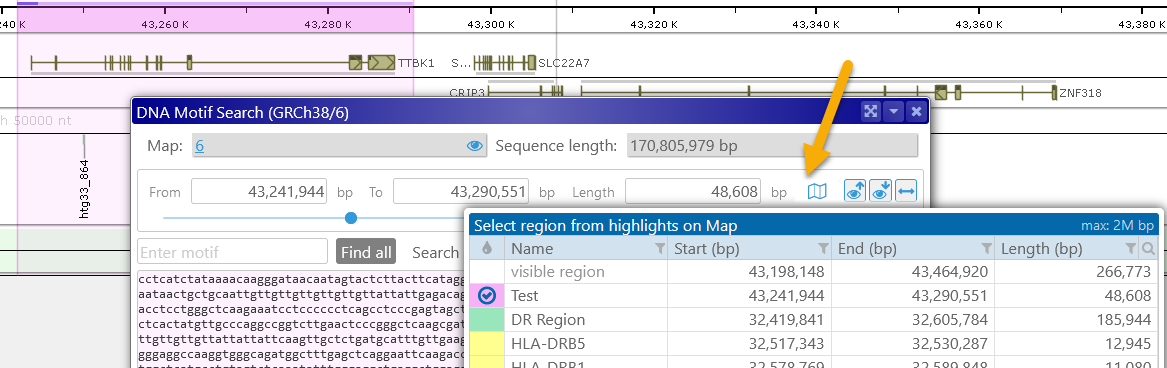
You can use the buttons in the upper-right corner to quickly synchronize the selected range with the map:
 Set the visible map region to the currently selected range (by automatically zooming and panning the map),
 Set the range to the currently visible map region,
 Select the entire map.
 Copyright © 2009-2025 by Persephone Software. All Rights Reserved.