Web Persephone: Tracks and the Track Panel
Tracks in Persephone
Data on maps in Persephone is primarily contained in tracks. A map can contain multiple tracks, and these tracks are sometimes organized into groups. For example, multiple quantitative tracks representing e.g. RNA-seq are sometimes grouped together, to make them easier to manage.
The Track Panel
The Track Panel on the edge of the map provides quick access to its tracks. To open the track panel, move the mouse over it:
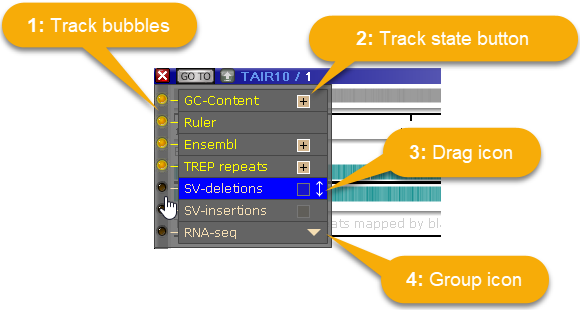
The panel will pop out, displaying the list of tracks on the map, as well as some additional controls.
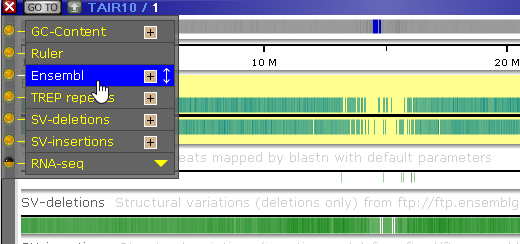
1: The track "bubbles" toggle the visibility of a track (similar to checkboxes). A brightly lit bubble indicates that a track is visible on the map; a dark bubble indicates that the track is hidden, but still available. When a track is visible, mousing over its name in the Track Panel will cause it to be highlighted in yellow on the map:
2: The track state buttons are used to expand or collapse a track. Tracks are displayed in collapsed state by default, to take up less space on the map. Click the ![]() button to expand a track:
button to expand a track:
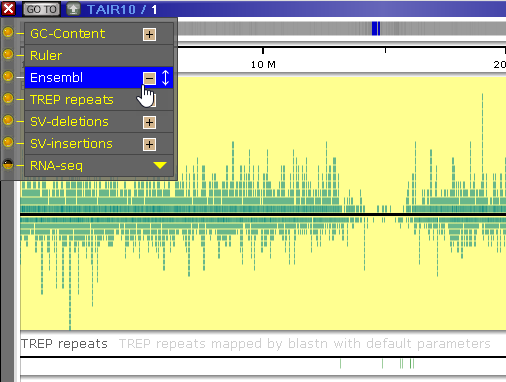
You can then click the  button to collapse the track again. Most tracks only display summary information when collapsed; for example, the Annotation Track (pictured above) displays a histogram of transcripts when collapsed, and a full transcript pile-up when expanded.
3: The drag icon indicates that the track can be moved. To do so, drag its label with the mouse, and drop it in the new location. For example, you can move the Ensembl track to the bottom of the map:
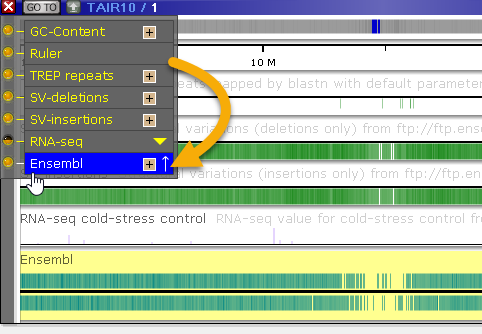
This can be useful when displaying multiple maps that are connected by ortholog or marker connectors.
4: The group icon indicates multiple tracks that have been placed into one group. Mouse over the group's label to expand it:
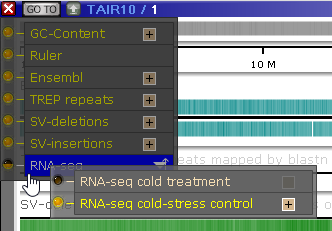
You can toggle all the tracks in the group on or off by clicking the group's track bubble; alternatively, you can toggle individual tracks inside the group on or off. In this case, the group's track bubble will show up as half-filled. You can rearrange tracks within the group by dragging them; you can also drag the entire group to a new location on the map (as described above).
The Map Properties dialog
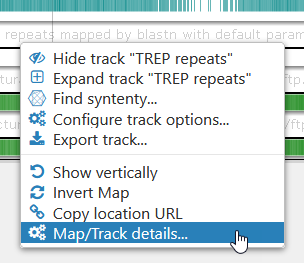
You can access similar functionality by right-clicking on a map, and selecting Map/Track details to open up the Map Details dialog:
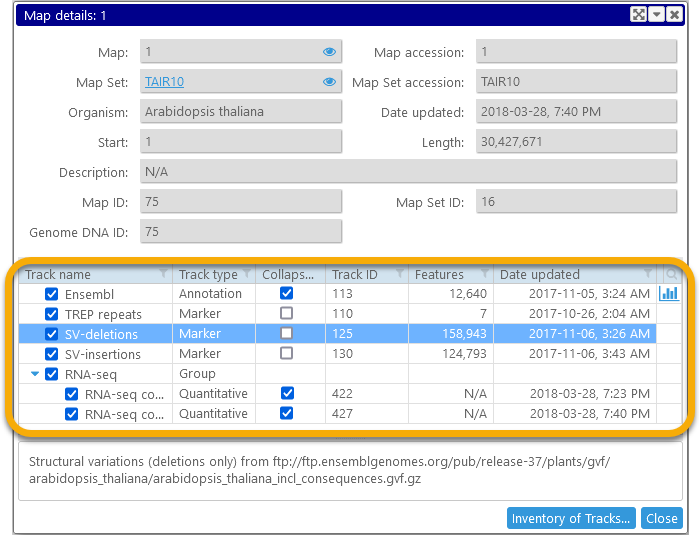
The top part of the dialog contains all known metadata about the map. You can click the  icon next to the map to open it in the main view (assuming it was not open already), and you can click the
  icon next to the map set to reveal it in the main map set tree.
The tree view at the bottom contains all data tracks on the map; use the checkboxes next to each track to toggle its visibility and collapsed status. You can also view the detailed description (if any) of a track by selecting its row in the tree. In addition, some tracks are supplied with detailed statistics, which you can view by clicking the  button (in the rightmost column of the table).
Each map will "remember" the status of every one of its tracks, including each track's order on the map; whether the track is visible or hidden; and whether it is collapsed. For example, if you hide the "Ensembl" track on Chromosome 1 of , this track will be hidden only on Chromosome 1. If you open Chromosome 2, the track will be visible on that map. However, you can manage all tracks for a map set in bulk from the Map Set details dialog. You can bring up this dialog by clicking the map set name:
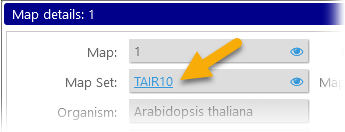
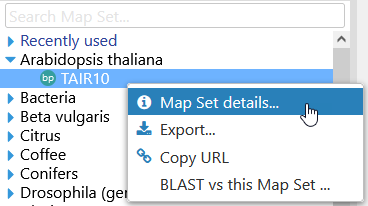
You also can bring up this dialog by right-clicking on a map set, and selecting Map Set details:
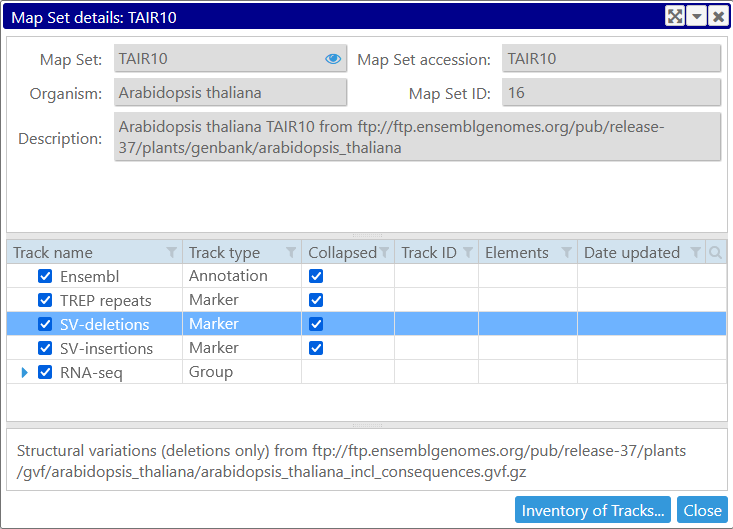
You can toggle the checkboxes in this tree view to apply their settings (track visibility and collapse status) to all maps in the map set. Click the Inventory of Tracks button to open the Inventory of Tracks dialog, where you can permanently activate or deactivate entire sets of tracks (to prevent rarely-used tracks from cluttering up the Track Panel).
Note
The table of tracks is equipped with the standard table sorting and filtering controls.
The Track pop-up context menu
You can right-click a track to bring up its pop-up context menu. Every track will have a slightly different context menu, depending on the data the track displays; however, most tracks have the following menu items in common:
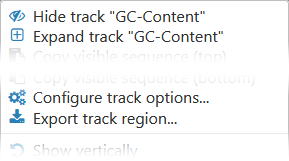
- Hide track: hides the track. You can make the track visible again by clicking its bubble in the Track Panel, or by checking the corresponding checkbox in the Map details dialog, as described above.
- Expand/Collapse track: expands the track if it is collapsed, or vice-versa.
- Configure track options: opens the Configure Track dialog, where you can rename the track or change its color scheme.
- Export track region: opens the Export dialog, where you can export the currently visible region on the track in a variety of file formats.
Track appearance
Every track in Persephone has a unique appearance, depending on the type of data it displays. However, most tracks have a label that shows the track name, and an additional line of text that shows the track's description (if any):

In cases when the track's full description contains multiple lines, only the first line will be shown on the map.
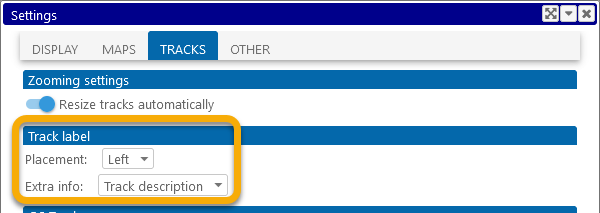
You can control the placement of the label and the extra information line. To do so, open the Settings dialog, and select the Tracks tab:
Track types
Each track type in Persephone has unique behaviors suitable for the data it displays. You can always access individual track properties by right-clicking on the track to bring up its pop-up context menu, and you can always click on a track element (such as an Annotation or a Marker) to view its details. Read on to learn more about various types of tracks in Persephone:
- GC-Content
- Ruler
- Annotation
- Marker
- Quantitative
- BLAST
- BAM
- Synteny
- Variants
